Product Group settings are managed across two tabs: Default and Markup. To update Product Group settings, go to Settings > Products > Product Groups.
New Product Groups when created request the details that go in on the Default tab. Select +Add to create a new group.

The New Product Group Screen will open

Update the details for the Product Group.
- Code and Name: The Code must be a unique ID and the description is a text field. Both are required fields.
- GL Accounts: If desired, specify the default accounts for the Sales, Purchases and Closing Stock GL Accounts for products set to the group. GL Accounts set within the group override default GL Accounts used in Financial Settings. Changes to these GL Codes immediately affect all products in this product group. If these fields are left blank, the default GL Accounts apply to the products assigned to the group.
- Product Type: The Product Group may also be associated with a selected Product Type. This means a Product Group will only be available for selection if a Product is set to the associated Product Type. It is optional to apply a Group to a Type.
- Serial Number Tracking: Select if you want to track the serial numbers of the product, options are None, Sales Only, Sales and Purchases
- Allow multiple quantities (Serial numbers): This option is for tracking batch numbers, usually where a product has a ratio, for example a box of wine, the box batch number would be entered, and the quantity would be 12.
- Show expiry date: For items with shelf lives.
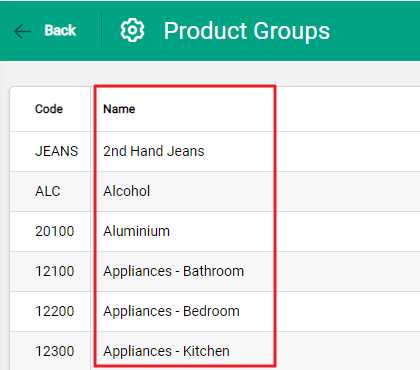
Once the product group is created it will show in the list, the list is shown in alphabetical order by name.
Select the product group you just created, it will initially open on the Default tab, and show the information you have just input.
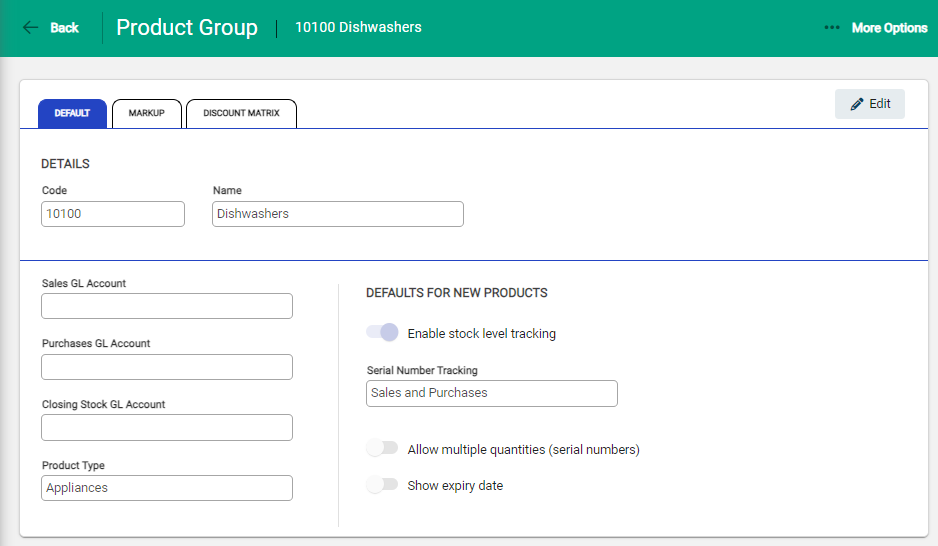
Products assigned to this Product Group can have stock tracking by selecting Enable stock tracking level. This can be changed on the individual products by toggling the product stock tracking option.
Markup tab
Markups can be applied to Price Levels within a Product Group. This means pricing for a product can be determined by the Product Group that it belongs to.
Available Price Levels display on the tab. Select the edit pencil beside the price level to specify the markup to be used. The markup is then applied to the cost price and the sales price is generated.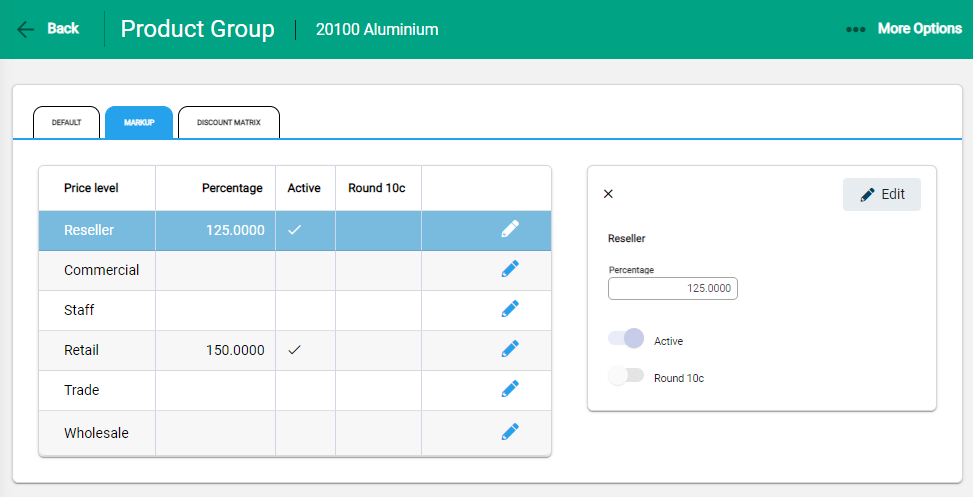
For the markup to take effect, it must be set to Active on the Price Level. Additionally, the price can be set to Round to the nearest 10 cents. Save updates.
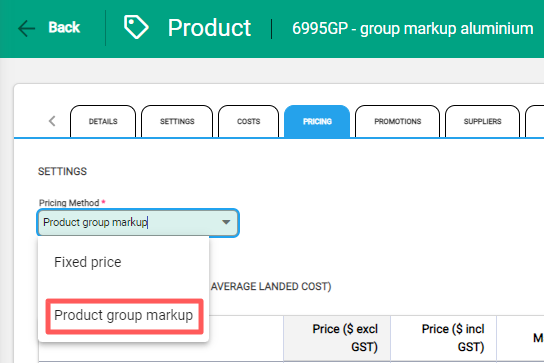
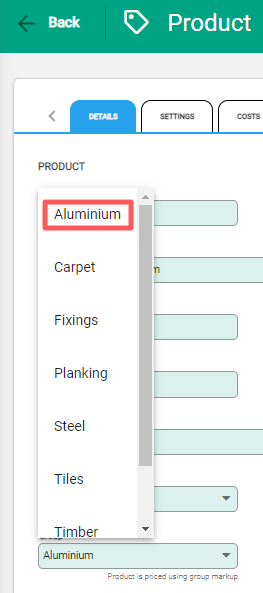
For a product to have an Active Product Group Markup, the product's pricing method needs to be set to 'Product group markup', and needs to belong to the relevant product group. Go to the product page and select the Pricing tab to change the pricing method, and the Details tab to change the product group.
Price levels markups that are not activated, or do not have a mark-up percentage applied, require manual pricing. This is controlled on the Pricing tab on the product.
Delete a Product Group
Product Groups can be deleted if there are no products set to use this group. When deleted, the Product Group is permanently removed from Infusion.
To delete a Product Group, click on the row to open it. ...More Options displays in the toolbar, select and choose Delete.

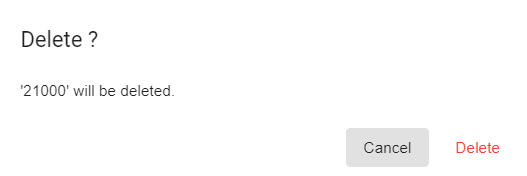
A notification confirms the deletion. Delete to proceed.