Prior to receipting a product, it must be created in Infusion. Only Products that are set to Track Quantities can are receipted - products that aren't tracked won't show as available.
Product Receipts are created specific to a single Location. To receipt product(s), go to Products > Receipts. A list of Unposted Product Receipts display. Select +Add to create a new product receipt.
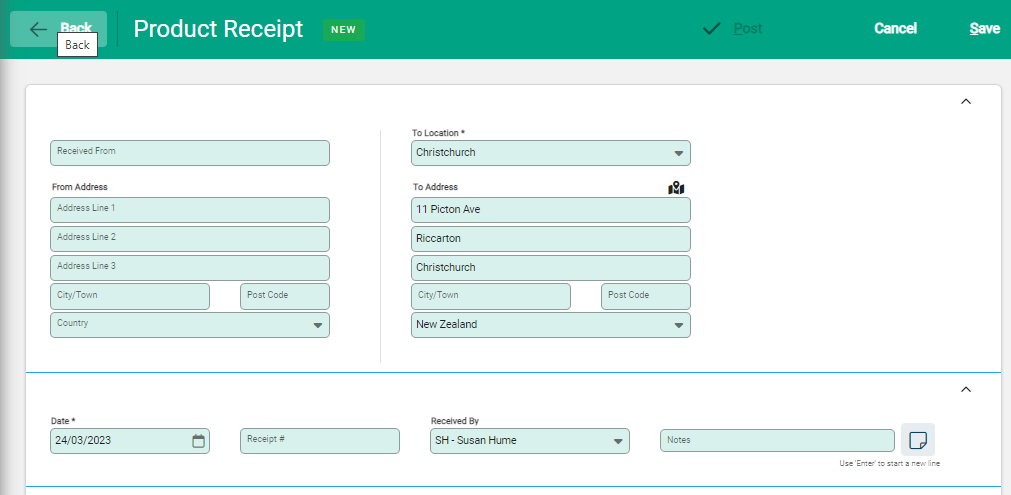
The New Product Receipt window opens. Enter the following details:
- Received From: free text fields to record Supplier details.
- To Location: the Product Location that the goods are being receipted to. When the location is selected the address details auto-populate.
- Date: the date the stock was received.
- Receipt #: the packing slip reference.
- Received by: select the staff member who received the stock.
- Notes: add notes if applicable.
Select Save to proceed.
The product line entry section displays ready to add products. These can be added to the receipt individually or imported from a .csv file.
Add an individual product
Select +Product.
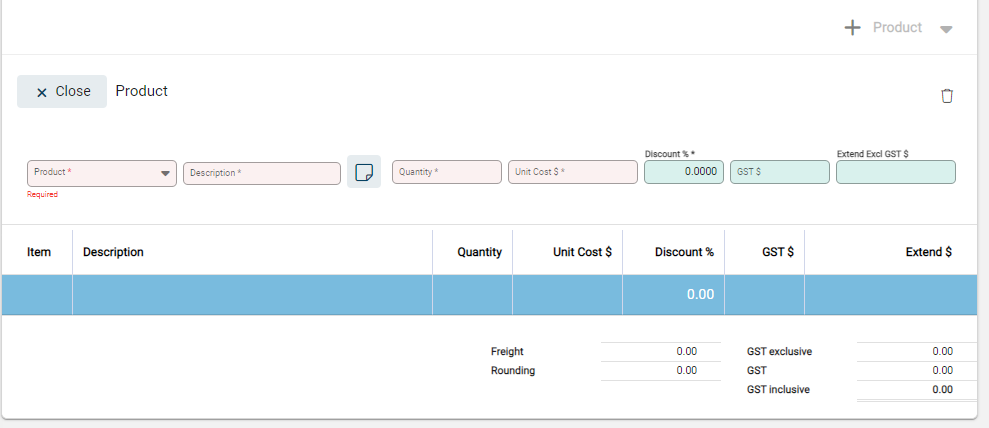
An entry row opens. Add the Product from the drop-down menu. The Description auto-populates and is available to edit. Note that any changes made to the product description are contained within the Product Receipt and do not update the product itself.
Enter the Quantity received and the Cost price per unit GST Exclusive. If the product has been receipted previously, the most recent cost price populates into the field. Update if required.
Close to add the product to the receipt.
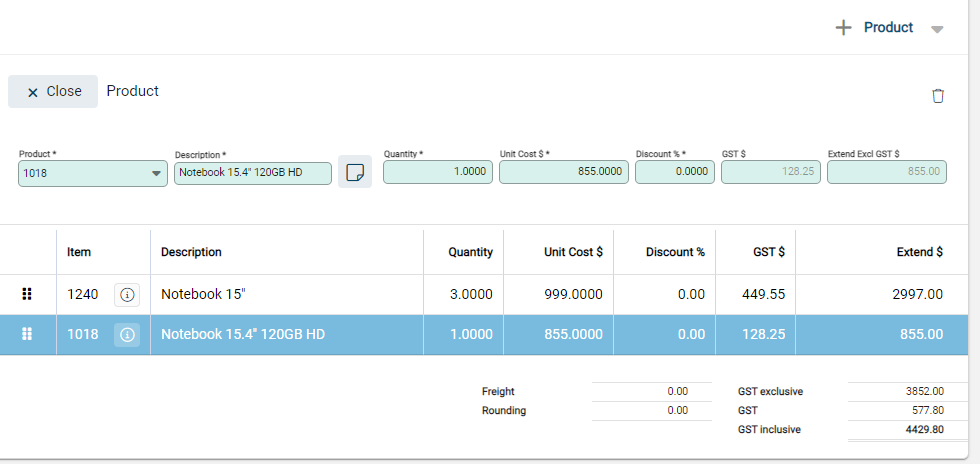
To continue adding products, select +Product, +Product will save the current product ready for the new product to be entered.
To hold the receipt select Save.
To Post the receipt to complete the transaction and update records select Post. A notification confirms the product receipt details.
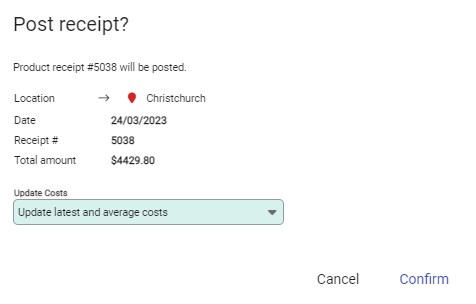
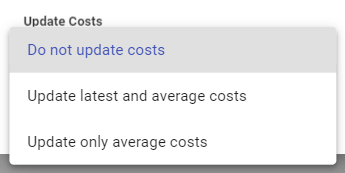
The Update Costs field provides options to update the costs of a product on the Product Pricing tab. Choose as applicable, noting that if options other than Update latest and average costs are selected, manual updates may be required to maintain costs on the product.
Product quantities are updated and the products are available to include on invoices and purchase orders.
Notes
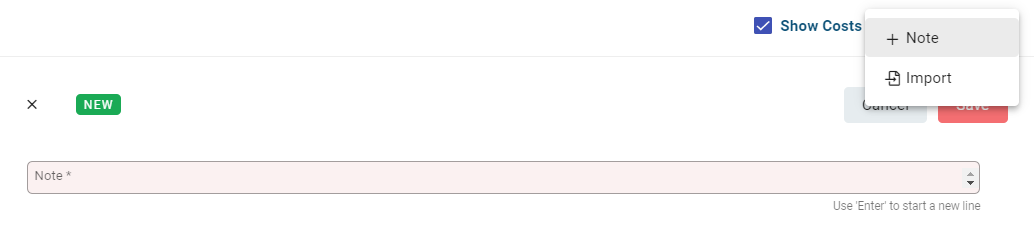
Notes can be added to a Product Receipt to add further information about products within the receipt. Use the drop-down arrow beside +Product to add a free-text notes line.
Importing Lines into the Product Receipt
Importing from a CSV file is an efficient way to add multiple products. Once imported, the lines can be edited or deleted, and the Receipt can be either Posted or Saved.
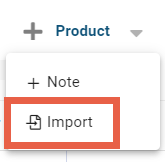
To import product lines, add a Product Receipt as above, and select the location. Next, select the drop-down arrow beside +Product and choose Import.
Choose the import file from your computer and upload.
Import files must be csv and include the following columns:
- Product Code: enter the code exactly as it is in Infusion (required).
- Description: a free text field to enter the product description. This doesn't need to exactly match the product description in Infusion and is recorded on the Product Receipt only (optional).
- Quantity: enter the quantity of each product received (required).
- Unit Cost ($): the GST exclusive unit cost (required).
The link to this Product Receipt document provides a download of a .csv file to use. Alternatively, create your own file with the above headers.
If an imported product has a serial number, the product is imported with the above information. The serial number details are subsequently added from within the product receipt.
Receipt Products with Serial Numbers
For products that require serial number tracking, the serial number is added when the product is receipted in. Refer to Product Receipts for products with Serial Numbers.
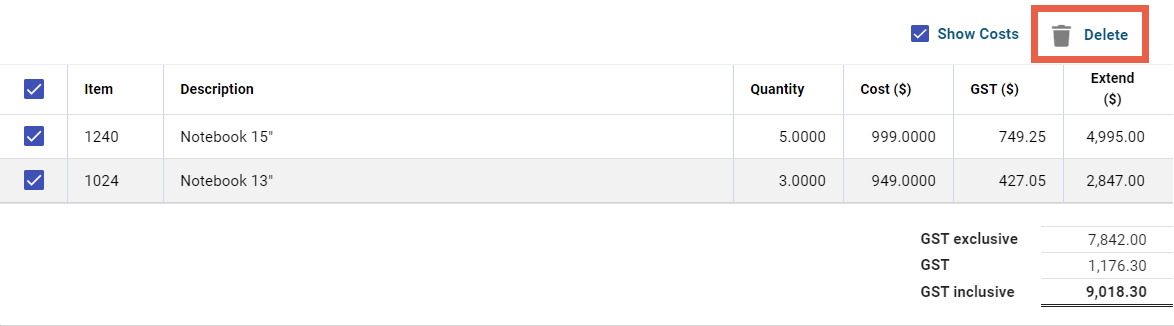
Edit or Delete Lines
To edit a line, select the row on the product table to activate it. The entry fields open above the table. Make the required changes and Save.
To delete a line, the product table must be inactive. Select the checkbox next to products to delete. The Delete icon displays above the product table. Select Delete to remove the rows.