There are multiple ways to create a new customer invoice.
To open a new invoice with no details pre-populated:
- From the main menu select Customers >Invoices and select +Add from the toolbar.
- Using the Omni icon in the header select +Invoices in the Customers menu.
To open a new invoice with customer details pre-populated:
- From the Customers screen select the spill menu at the end of a customer row, open the menu and select +Invoice.
- From within a customer record, select ...More Options in the toolbar and choose +Invoice from the menu.
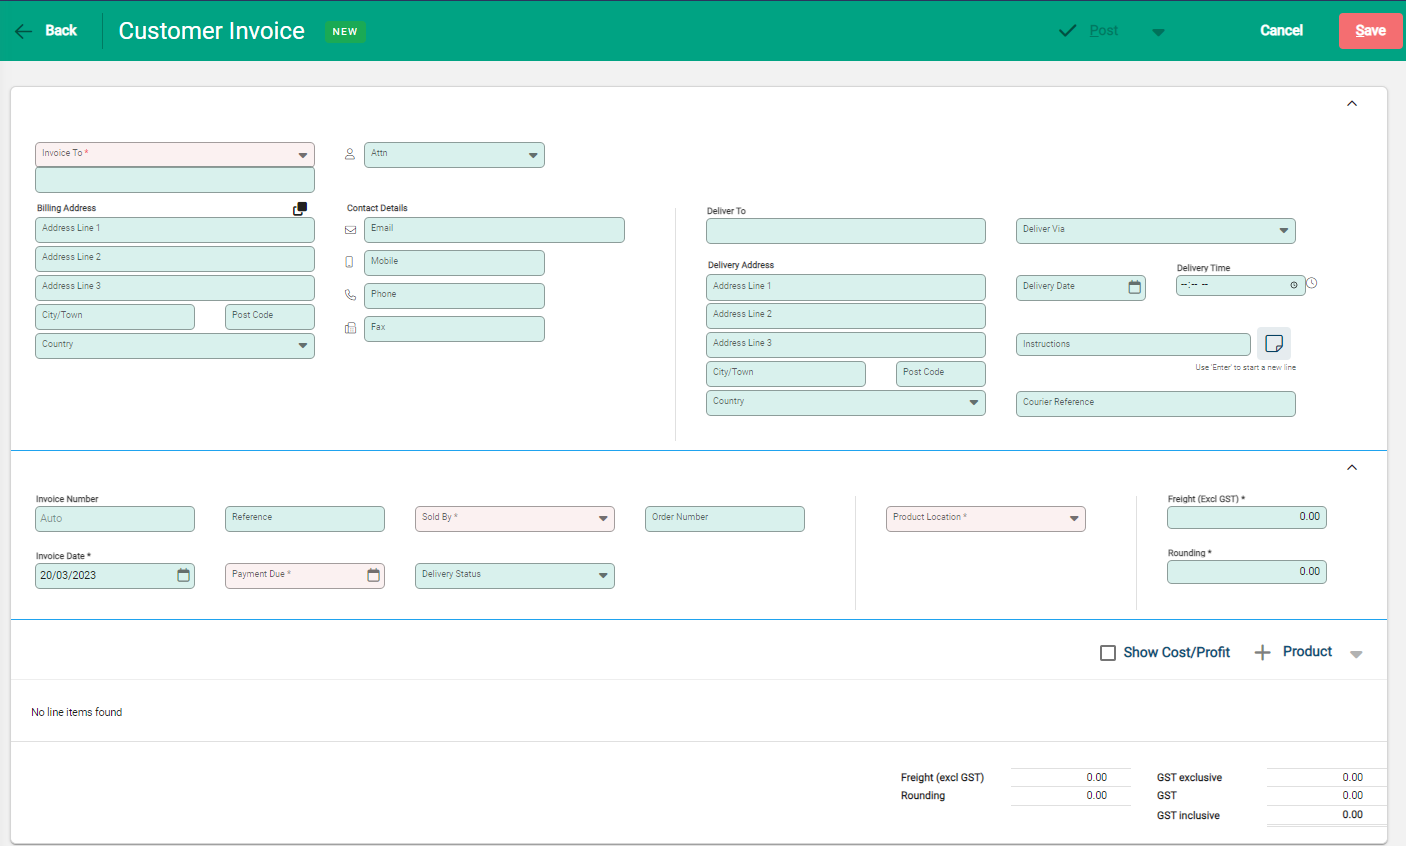
Invoices are updated in sections. Required fields are indicated with an asterisk and are red if empty.
Customer Details
Enter the customer details in the Invoice To field. Fields are automatically populated with information from the Customer contact details, including Contact information, Delivery details, Sales Rep and Product Location.
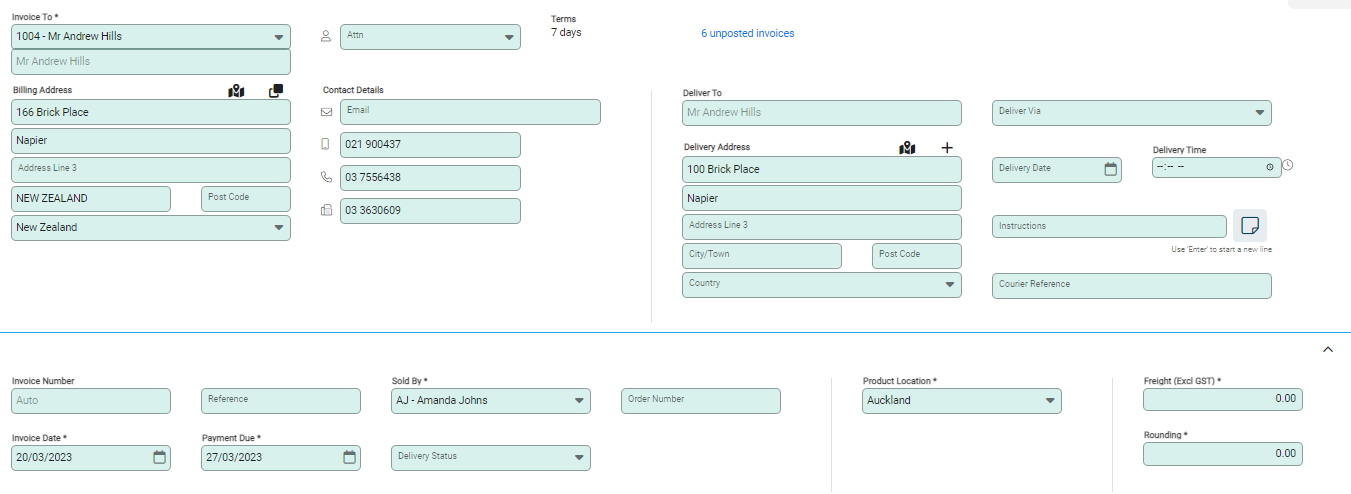
- Customer payment Terms display beside the customer name. If there are any unposted invoices, a link to the Customer Enquiry Invoices tab allows you to view them in a new tab.
- Auto-filled fields can be over-written on an invoice. This changes the details for the invoice only without affecting the customer account.
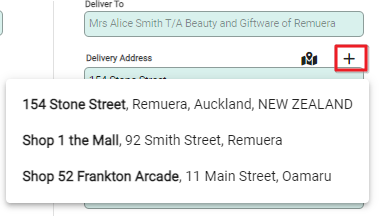
- Delivery details are editable. If the customer has multiple address options, the + icon above the Delivery Address shows additional address options. Select an alternative address if required.
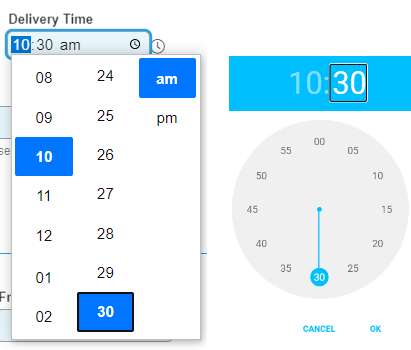
- The Delivery Time field provides digital and analogue options to set a delivery time. Use the clock icon within the field or the icon beside the field to set the time.
Invoice Details
An Invoice Number is automatically generated. If the software is configured to allow editing of invoice numbers this can be changed. The new number must be unique.

- The Invoice Date defaults to today's date. The Payment Due is determined by customer payment terms. Both fields are editable.
- If a customer's order number has been provided enter this into the Order Number field. Similarly, update the Reference field with supplied information eg. customer project number.
- The Product Location is derived from the Customer's account and shows which location stock will be sourced from.
- Ensure Freight and Rounding are correct for the invoice.
If an invoice number that has already been used before gets entered in, an alert advising that the invoice number has already been used will display.
Product Details
When an invoice line is created, an entry row is used to input details. The same row shows in the body of the invoice lines and is highlighted blue. Changes made in the entry row are reflected in the invoice line at the same time. Select an invoice line at any time to activate it to make changes.
Select +Product to add items to the invoice. An entry line opens allowing a product to be added. Use the drop-down in the Product field, or type the code or description to search the Product list. When the product code is entered, the remaining fields automatically populate and are available for editing if required.

To continue adding Product to the invoice, select +Product for each new row. A current row must be completed before a new row can be added.
Serial Numbers
When a serial number tracked product is added to an invoice, the invoice can be saved without needing to select the serial numbers for the product. Serial numbers still need to be assigned before the invoice can be posted, and this is done by selecting the red Serial Numbers button with the relevant product line open.
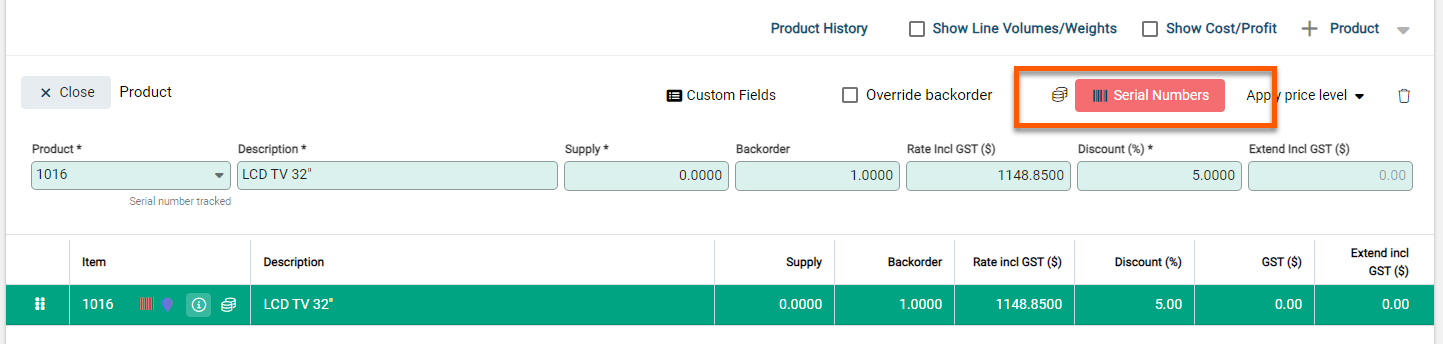
When the Serial Numbers button is selected it brings up the pop up window for selecting the relevant serial number in
Sales only Serial Numbers
For items that are set to track serial numbers on sales, when the pop-up window displays enter the Serial Number or select it from the dropdown menu.

If you are selecting the Serial Number using the drop down, only Serial Numbers assigned to that location that have available stock.
Sales and Purchase Serial Numbers
For items that have serial numbers recorded when they were receipted in, use the drop-down to select the serial number from the available list. If known, type it directly into the field.

For both Sales, and Sales and Purchase Serial Numbers, multiple serial numbers can be added in the window. Select +Add Another to continue adding details. As each new serial number is entered, the Quantity field updates to the total of the serial numbers.
Batch Serial Numbers
When adding items that use a batch serial number, use the drop-down to select the serial number. Alternatively, add the serial number if it is known, or not in the list.
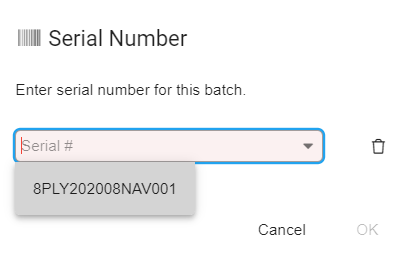
Select OK to add the serial number details and return to the product line. Enter the number of units to sell in the Quantity field.

Dates
Some serial numbers, whether Sales or Sales and Purchase, unique or batch, require dates. In these instances, the serial number window includes a Date field next to the Serial Number field. Update with the Date relevant to the product and serial number.

Price Levels
A customer is set to a specific price level. Items added to an invoice are charged at a rate in line with the Price Level. Use the Apply Price Level option to change the price level for the product.

Each product item can be priced using a different price level.
Line types
Different sorts of line types can be added to the invoice. Click on the drop-down arrow beside +Product for more line options. These include:
- +GL Account
- +Title
- +Notes
- +Separator
+GL Account
Add GL Accounts to an invoice to capture charging for services such as freight or finance charges. The row structure is the same as adding a product, but a GL Account is chosen instead of a Product code.

+Title | +Note | +Separator
Titles, Notes and Separator allow an invoice to be formatted and provide additional information and detail. Select from the drop-down options.

Show Cost/Profit
When the Show Cost/Profit box is checked, the product line expands to include the Cost and Markup for the item. These fields, along with Rate Excl GST ($) are editable.

Additional Summary information displays below the product rows including:
- Margin
- Markup
- Gross Profit
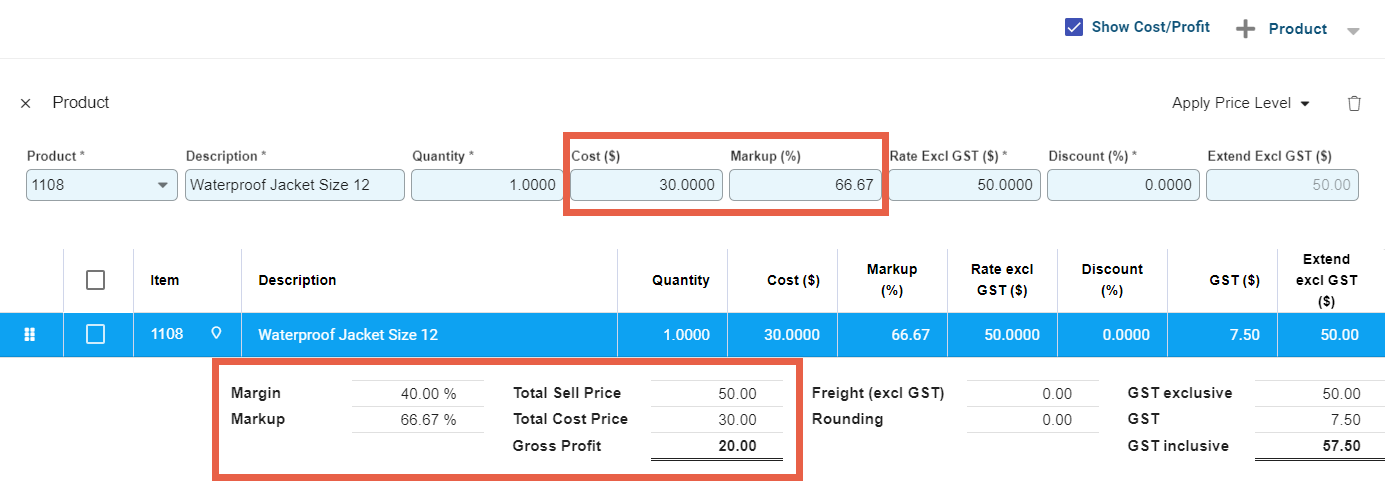
Show Cost/Profit shows the impact when discounts are applied to an item and is valuable for helping ensure that items are not sold at a loss or below a required margin.
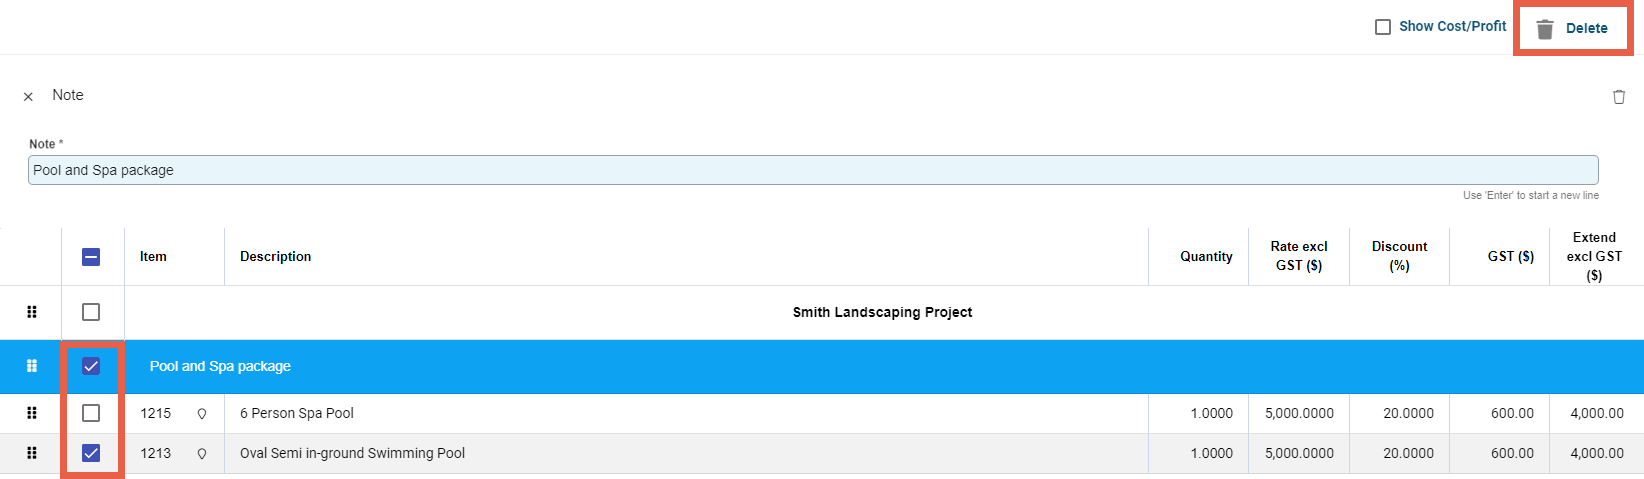
Delete invoice lines
To delete an individual line, select it to make it active. A rubbish bin icon displays above the invoice table. Select to Delete.
To delete multiple lines, select the checkboxes at the start of each row. The Delete button replaces the +Product button. Select to delete.
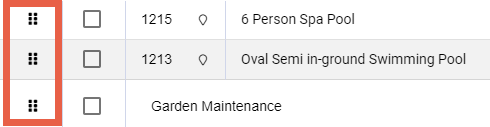
Move invoice lines
Use the grab icons at the start of each row to click and drag to re-position rows on the invoice.
When all rows have been added, the invoice can be Saved to return to and complete at a later time, or Posted to complete. When Posting, the default is to Post & Email, which emails a copy of the invoice to the customer if they have a registered email address. If there is no registered email, then just Post will show.
Whilst an invoice is saved, it is effectively a draft. When an invoice is posted, it becomes a permanent financial record within Infusion.

Refer to Post an Invoice for options on posting.
If posting the sale puts the customer over their credit limit you will need to acknowledge this by selecting the Acknowledged option before the sale can be put through.

