Setting up Custom Fields follows the same process for Customers, Suppliers and Products.
Custom Field and Custom List settings are found:
- Customers - Settings > Customers > Custom Fields
- Suppliers - Settings > Suppliers > Custom Fields
- Products - Settings > Products > Custom Fields
Add a Custom Field
Click on +Add in the toolbar to add a new Custom Field.
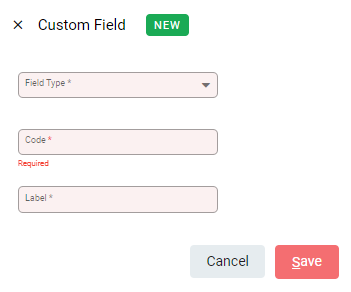
Enter a unique Code for reference, and a Label for a description of the field. The Type indicates the content requirement for the field. Options include:
- Single or Multiple lines of text
- Date
- Time
- Integer or Decimal number
- Phone
- Boolean (checkbox)
- Link (to a website)
- Customer Contact
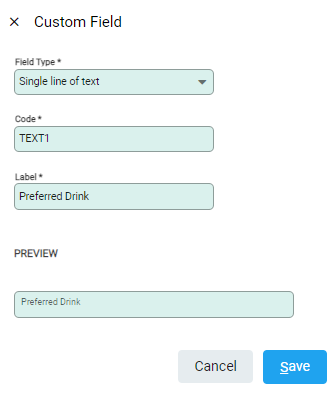
As the Type is selected a sample displays to demonstrate how it will appear to users.

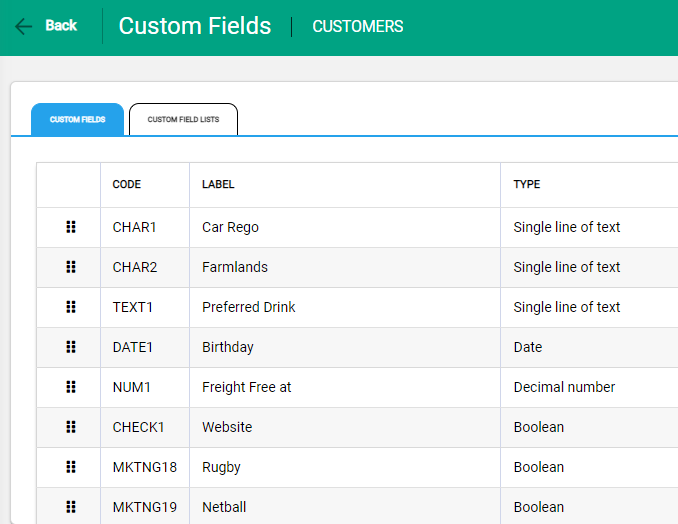
Save to complete. The new Custom Field displays in the list.
Use the move icons to drag and drop Custom Fields into the required display order.
Edit Custom Fields
Click on the edit pencil to open the Custom Field details. The Custom Field edit window opens and is ready to amend. Make the required changes and Save.
Once set, the Type is unable to be changed. If the Type requires editing, deactivate the existing Custom Field and create a new one with unique Code and Label information.
You can change a custom field’s type only when the new type uses the same kind of data (e.g. Text to Email, or Option list to Customer contact), or when switching between single and multi-value only if no data has been entered in that field yet.
Deactivate a Custom Field
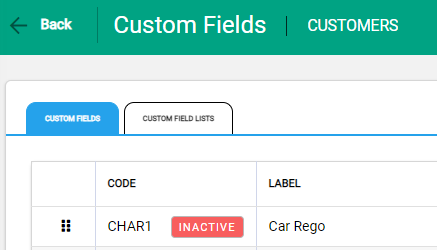
Custom Fields that are no longer required can be made Inactive. When a Custom Field is deactivated, it no longer displays on the Custom Fields tab on the Customer, Supplier or Product.
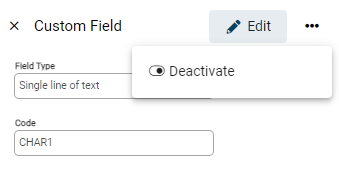
Click on the Custom Field to open the details window. Select the spill menu and slide the toggle button to Deactivate.
The Custom Field remains in the list and is tagged with an Inactive badge.
To reactivate the Custom Field, return to the details window and select Activate from the spill menu.
Custom Field List
The Custom Field Lists screen is where you define fixed sets of options that can be used for custom fields.
Custom Field Lists turn free-text custom fields into controlled dropdowns so data stays consistent and easier to use and report on.
To add a Custom List click the + Add icon on the header

Enter the list details, then add items as needed. Click the + icon to add each item, and Save the list once you're finished

Once created attach the Custom List to a Custom field, Follow the below steps to attach a Custom Field to Custom List
- Open the Custom Fields tab.
- Add a new custom field (or edit an existing one).
- Set Field type to Option/Tag list.
- In the List dropdown, choose the list you want to attach.
- Enter Code and Label for the field, then Save.

Using Custom Field List
Once the custom field is linked to a custom list, the list becomes available for use on the corresponding entity under Custom Feilds tab(Customer, Supplier, or Product).


