To create a Product Transfer, go to Products > Transfers and select +Add.
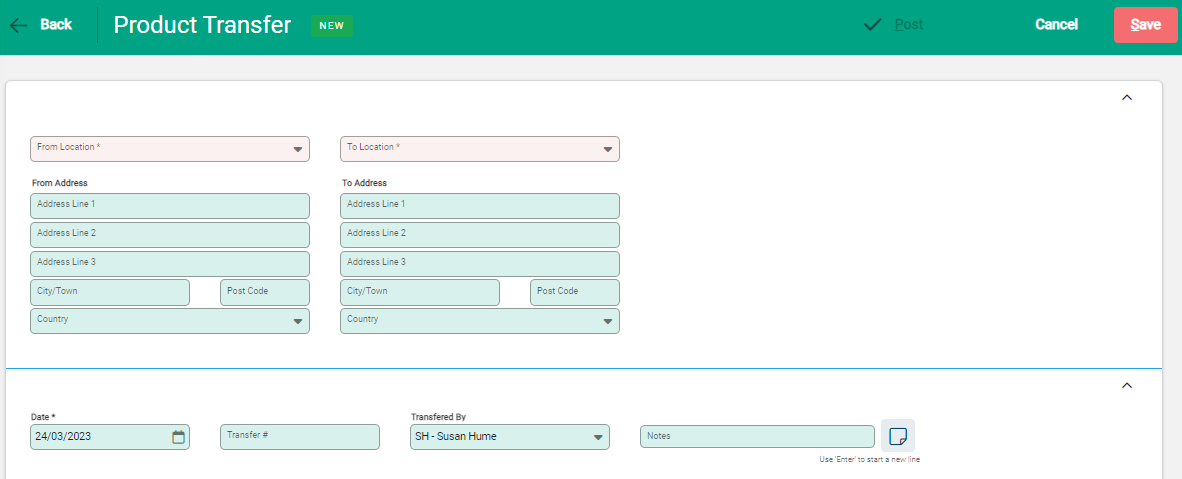
The New Product Transfer window opens.

Enter the From and To Locations. Address details auto-populate.
The Transfer number can be manually entered to create a specific reference, or left blank for the next transfer number to be automatically applied.
Include the Transferred By staff member and update any Notes if required.
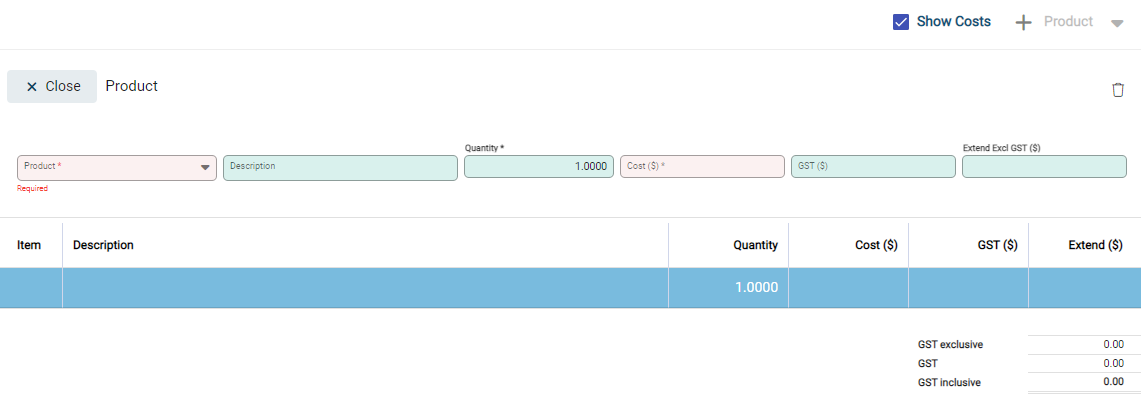
Select Save to proceed. The product entry line displays, ready for products to be added.

Enter the Product Code in the Product field. The remaining fields auto-fill. The Description field is free-text and can be edited if required. Cost is the Latest Cost recorded against the product.
Select Save and continue to add further products if required, using +Product for each new Product.
When all products have been included on the product transfer, select X - above the product code - and close the product table. The transfer is Unposted and can be held, or Posted to complete.
To hold the Transfer, select Back to return to the Transfers list where the Transfer displays.
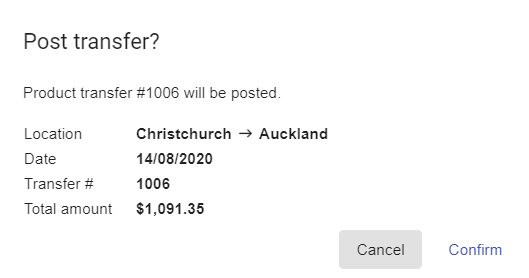
To Post the Transfer and complete the transaction, select Post. A notification confirms the transfer details.


