To process a sale in Infusion POS, go to POS Entry in the menu.
The POS Entry screen opens, ready for details to be entered. Transaction lines allow you to add items to the sale and edit details. Quick Buttons provide options to add items, edit details, query information and process a payment.
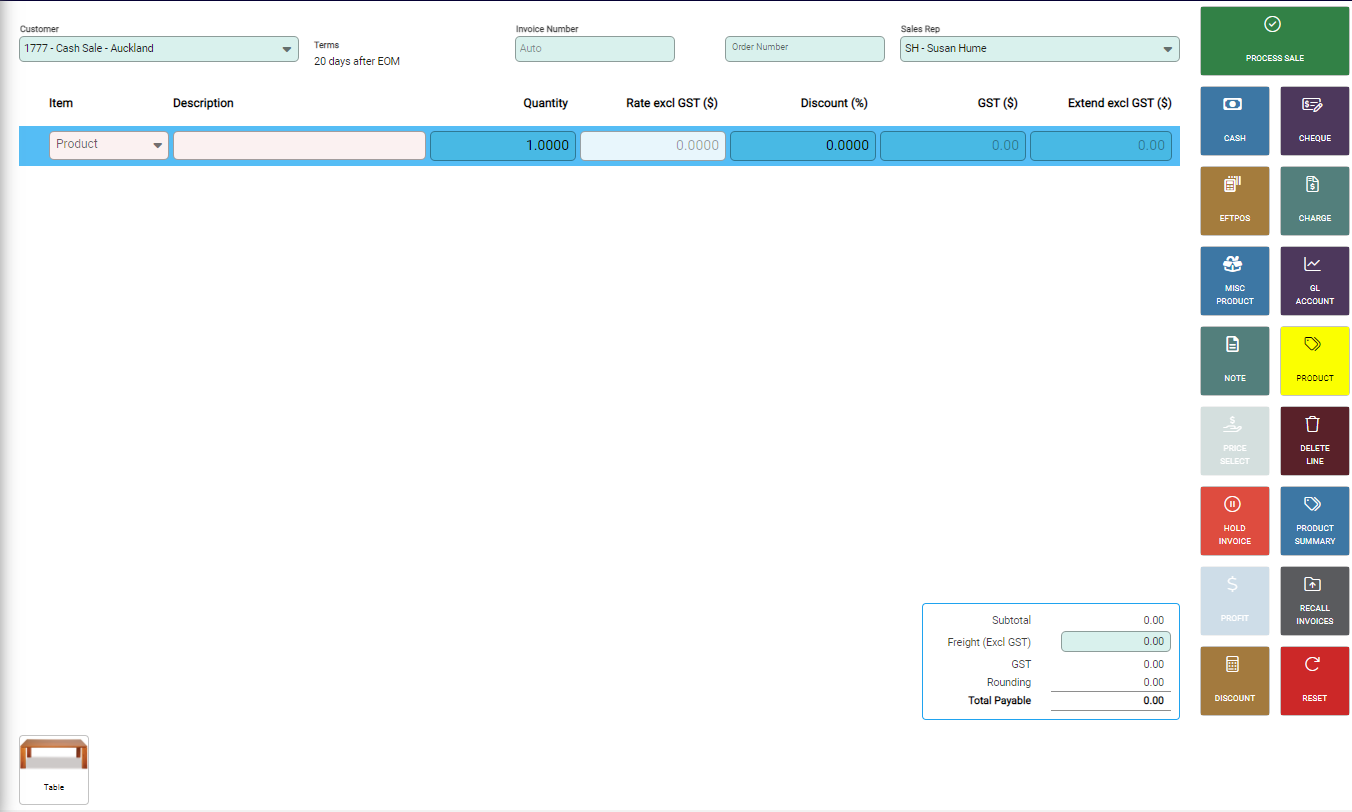
Add Customer and Invoice Details
Customer, Invoice and Order Numbers, and Sales Rep information is required to start an invoice.
-
Customer: The Customer field is mandatory and must either be a customer from the Customer list in Infusion or the nominated Cash Sale account. Use the drop-down to find the account to process the sale against.
Settings configuration determines if the Customer field defaults to Cash Sales or is blank. - Charge to Head Office: This displays and is automatically checked if the customer has a Head Office connected to their account. If this is unchecked the sale will be processed against the Customer account rather than the Head Office account.
-
Invoice Number: Invoice numbers are also mandatory and the next available invoice number automatically populates this field.
If Invoice Settings in Infusion are configured to allow change this field is editable. - Order Number: An optional, free text field to enter a customer supplied order number.
-
Sales Rep: The Sales Rep is the person who has made the sale, which may be a different person than who is entering the sales transaction. Choose from the list.
Settings determine if the Sales Rep field automatically updates with the Sales Rep stored on the Customer Account, or is blank.
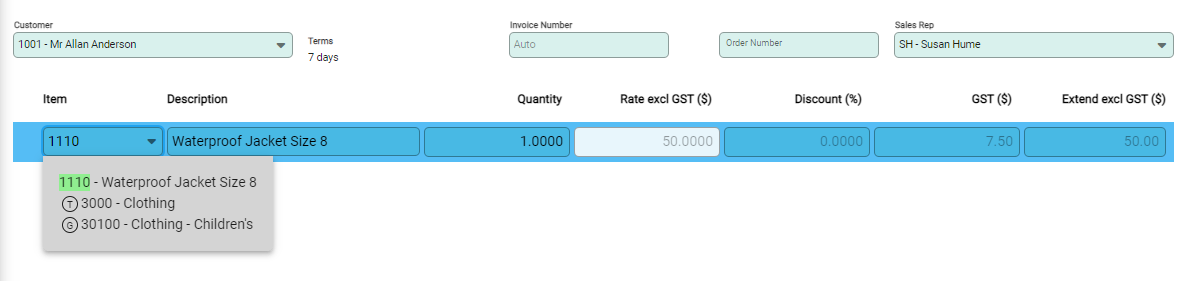
Add Items
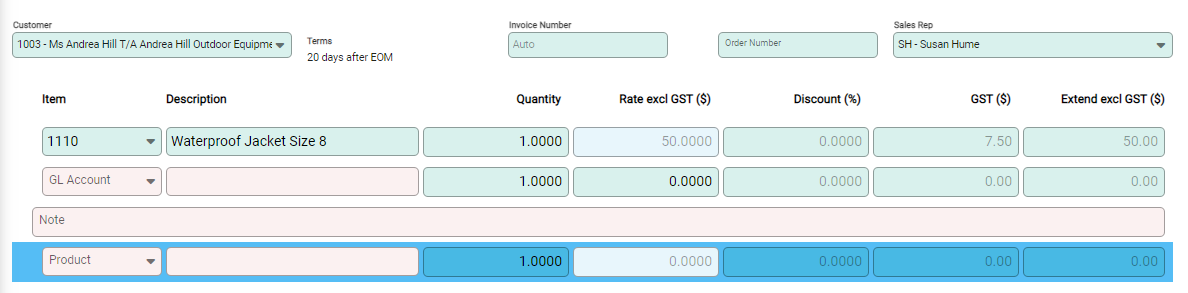
Goods and services are added in the Item field in the body of the invoice, or alternatively by using Quick Buttons.
As an item is added, the remaining fields in the row automatically populate. Non-editable fields are greyed out - these are determined by the POS Settings. Tab or click into fields to edit if required.
To add a new line, continue to tab across the row. As the end is reached, a new line is started.
Serial Numbers
When products with Serial Numbers are selected, a barcode beside the product code displays.
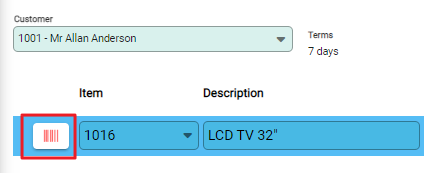
Select the barcode icon to open the Serial Number window and update details. More information on adding serial number products to invoices is available in the Customer Invoice article.
Add Invoice Lines with Quick Buttons
Quick buttons add new lines to invoices, with different buttons to add different line types.
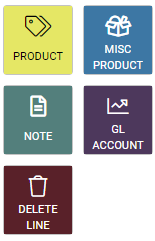
- Product: Adds a new product row. Note that the row above must be completed before a new product row can be added.
-
Misc Product: Uses the nominated MISC Product code under Settings for a new sales line.
If the Miscellaneous Product button is used, Settings must be configured to allow rate changes. - Note: Adds a line to enter free-text notes.
- GL Account: Adds a row to charge directly to a GL Account. The Item field allows searching for a GL Account.
- Delete Line: Highlight a row and select Delete Line to remove it. If there is only one row on the invoice, the content is cleared instead.
If a line is added, but not updated, the Item field shows the line type to indicate the purpose.
Add Products with Quick Buttons
Quick Buttons allow you to add a specific product, or lookup a group of Products so one can be added directly to an invoice. These buttons are located across the bottom of the POS Entry screen.
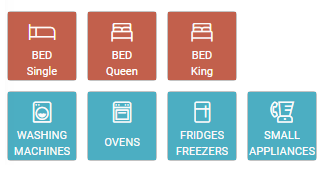
Product
Product buttons add a specific product to the invoice.
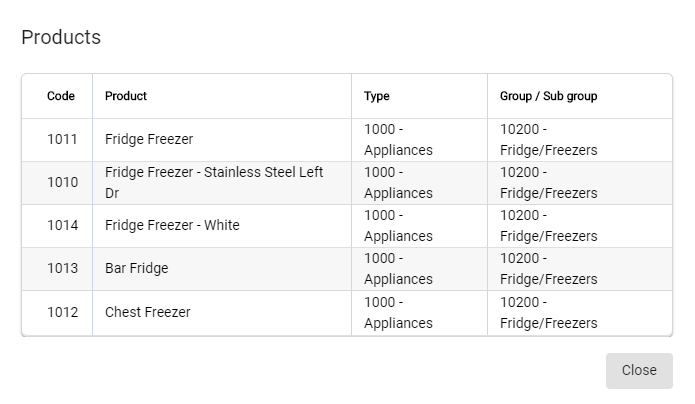
Lookup
Lookup buttons offer a list of products within the group. A new window opens and lists all products within the specified group. Select to add to the invoice.
Edit Item Prices
When settings are configured to allow it, the price of an item can be amended or discounted. If a field is greyed out, it is unavailable to edit.
Change the Rate
The price can be altered in the Rate field by over-typing it.
Apply a Discount
- Percentage: Enter a value into the Discount field to apply a percentage based discount
-
Dollar value: Use the Discount Quick Button to to open the Discount Calculator and enter the dollar amount in the Discount ($) field.
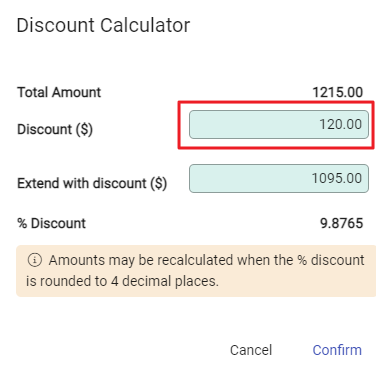
Infusion POS automatically calculates the percentage discount and this is applied to the invoice line.

Change the Price Level
The Price Level used for individual products can be changed using the Price Select Quick Button. Select the row to change and choose the Price Select button. A Pricing window opens and shows available Price Levels for the customer.
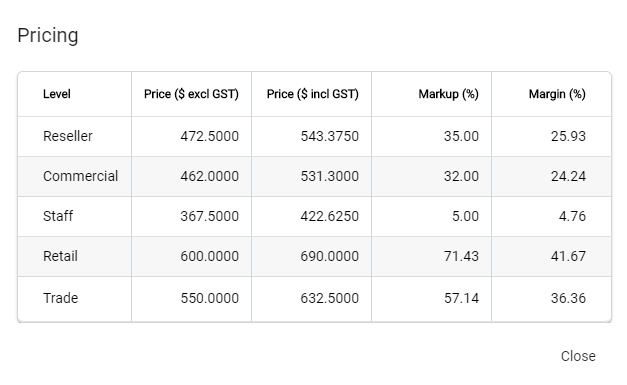
Click on the required Level. The rate automatically updates in the invoice row.
If the Price Level is to be applied to multiple items, update each item individually.
Quick Buttons - Product Information
Additional Quick Buttons allow reviewing of product information. Availability is determined by Settings. If they are disabled, the buttons are faded, or may be removed altogether.
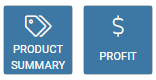
Highlight a product and select a quick button for more options as below.
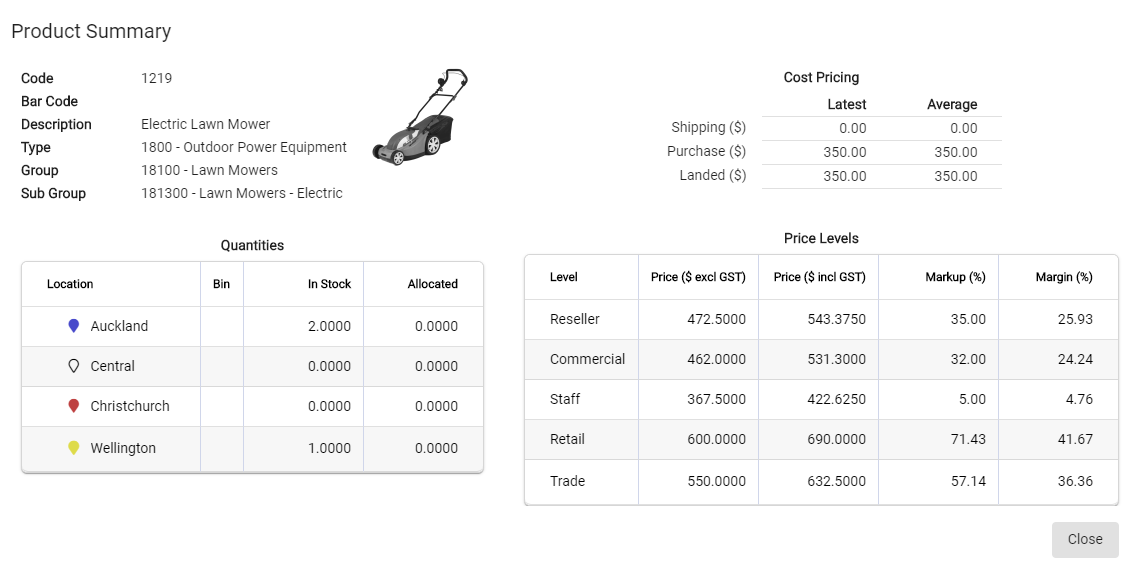
Product Summary
A read-only window that shows stock levels and pricing information for the highlighted product.
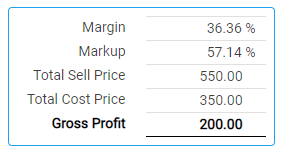
Profit
A summary of the profitability of an invoice is displayed. Also included is Total Sell and Cost Prices, Margin and Markup.
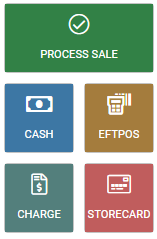
Receive Payment
To complete a sale, payment options are available in the Quick Button side bar. These may vary from business to business, but default options include Process Sale, Cash, EFTPOS and Charge.
When a payment option is selected, a new window opens to confirm the details. After payment is confirmed, an Invoice and corresponding Payment are created in Infusion.
Process Sale
Process Sale is the preferred option for completing a sale as it allows multiple payment methods to be used. All payment methods are listed, including Charge to Account.
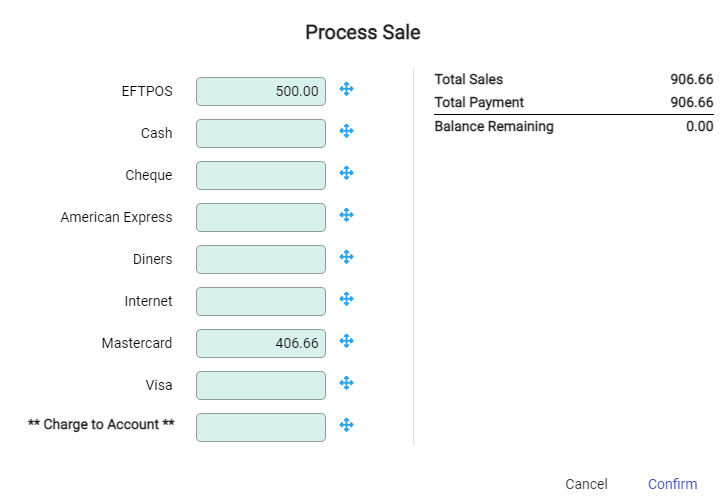
Type the amount in the payment fields, or use the payment options to Pay in Full or Pay Balance beside each method.
As payment is added to fields, the summary on the right updates to show the payment received, and the Balance Remaining.
Continue applying payment until Balance Remaining is zero. Select Confirm to complete.
When multiple payment methods are used, a new payment for each type is created.
EFTPOS
This payment window offers two fields to receive payment.

- EFTPOS: This must equal the amount of the sales transaction.
- Cash Out: Enter the amount of cash requested by the customer.
Confirm to complete the sale. If cash out has been given, a further notification confirms the cash out and remains on screen until OK is selected.

Cash
Whether being recorded via Process Sale, or the Cash Quick button, Cash is the only payment method that allows you enter an amount greater than the sale value.
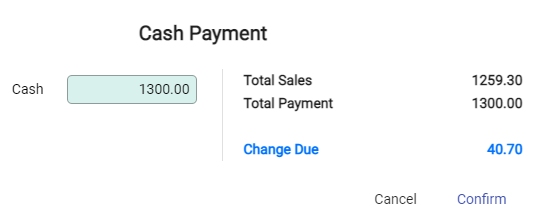
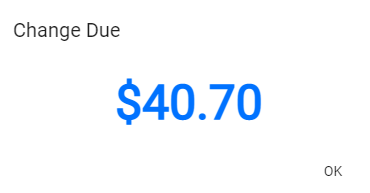
Change Due confirms the amount of change to give to the customer. Confirm to proceed.
The Change Due continues to display in a new notification and remains on screen until OK is selected.
When receiving cash payments from a customer, the cash payment will be sent directly to the associated cash drawer by default.
If an associated cash drawer is configured, this option will be selected by default. Users who do not want the cash to be sent to the cash drawer must manually deselect this option before proceeding.

Other Payment Method Quick Buttons
Each business determines their own payment methods, and for every payment method, a Quick Button can be created. When using a specific payment method Quick Button, the full amount must be applied to the payment method.
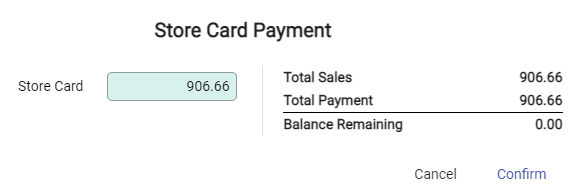
When payment is processed, the sale completes and the POS Entry screen is ready to start a new sale.

