After a supplier or cashbook direct credit payment has been created, a direct credit batch can be exported and reconciled.
From the main menu, go to Financials > Bank Accounts and then select + Direct Credit from the taskbar.

A list of your Unexported Direct Credits will display. Complete the available fields and select the checkbox next to the payments to include in the export. This could be one or multiple payments.
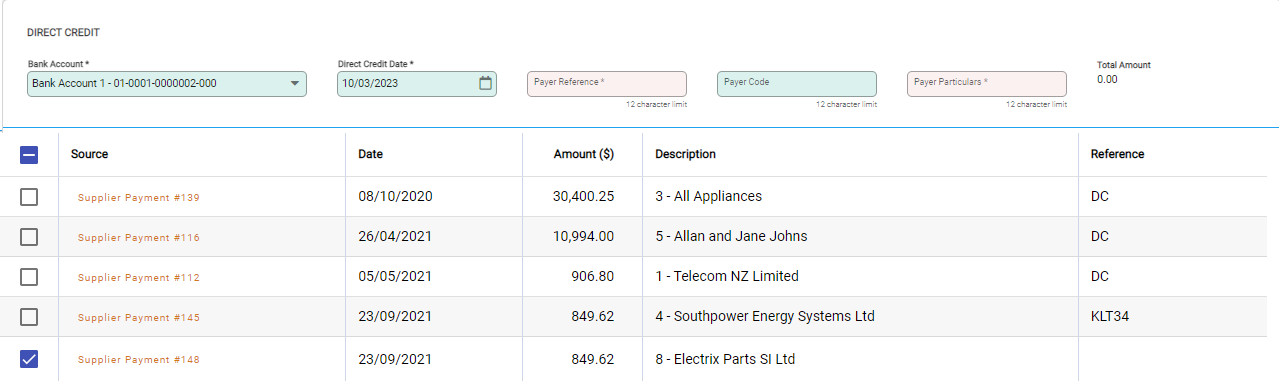
- Bank Account: select the account the payments will be made from
- Direct Credit Date: the date the payments will be made from your bank
- Payer Reference, Code, and Particulars: what you and the recipient will see on the transaction
- Total Amount: the running total of the value of the Direct Credit Export as you add payments
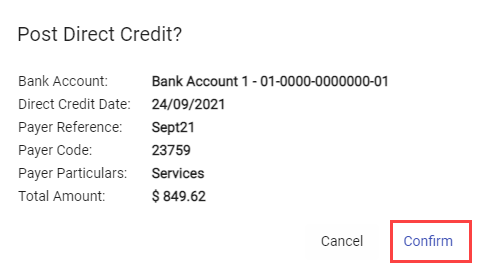
Select Post. The confirmation window confirms the payment to include in the export. Select Confirm to post the direct credit.
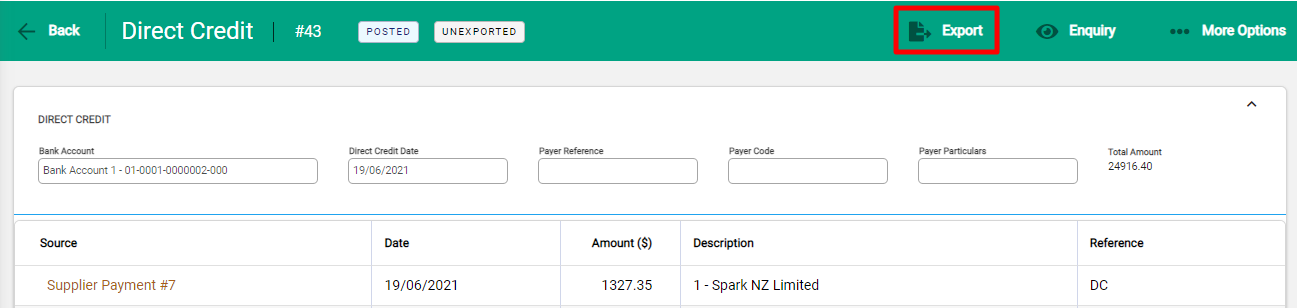
The Direct Credit screen will now display the payment as 'Posted' and 'Unexported' in the taskbar.
Export direct credits to upload to your bank
If you are creating and exporting a batch at the same time, you will now see the Direct Credit screen and can select Export. The export window will appear.
To export batches that have been previously created, go to Financials > Bank Accounts and select the specific bank account the direct credit is coming from. Next select the Direct Credits tab then the Direct Credit you wish to export. Select Export as above.
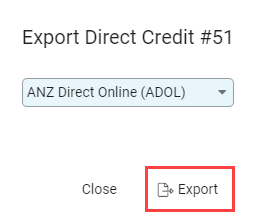
Infusion will select the correct export format based on your bank account number, or you can select the file type from the dropdown menu. If your bank doesn't appear on the list, email a query to support@infusionsoftware.co.nz.
The list of supported Bank accounts include
- ANZ
- ASB
- BNZ
- HSBC
- Kiwibank
- Rabobank
- TSB
- Westpac
Select Export.
An export file will download to your default downloads folder. Here is an example for an export intended for ANZ bank.

If you haven't uploaded a file like this to your bank before, search your bank's help content or contact them to ask what the process is.
Reconcile the direct credit payment
After the direct credit export is complete, the Unreconciled Direct Credit Payment will display on the bank reconciliation screen (Financials > Bank Accounts > [Specific bank account] > Direct Credits).
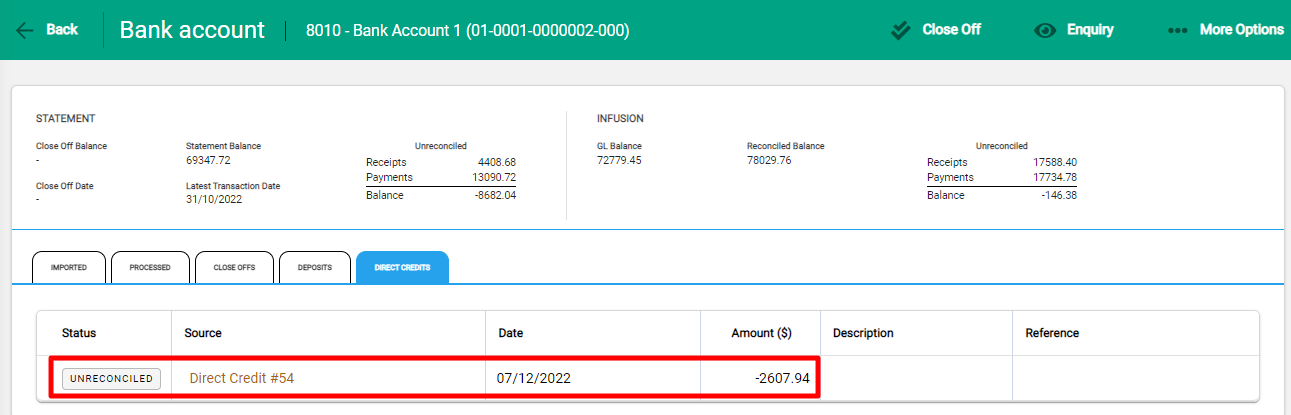
The Direct Credit is now ready to be reconciled against the Direct Credit payment on your bank statement. Read the article Reconcile a Bank Statement for next steps.
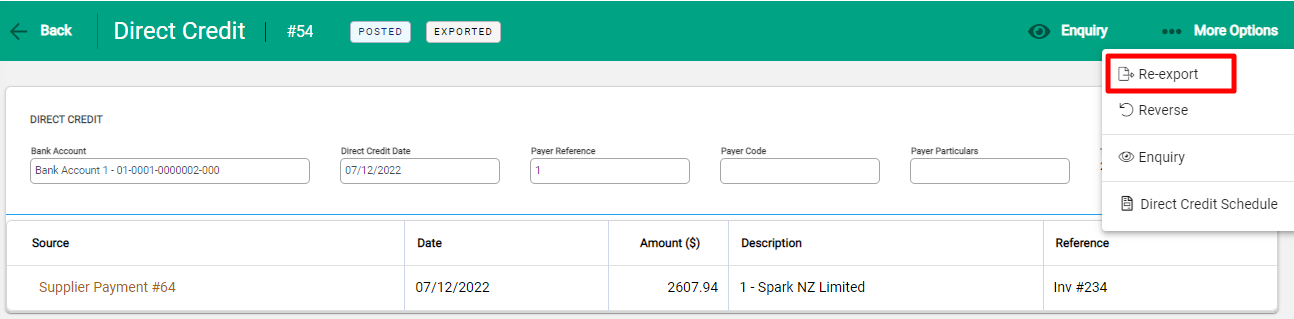
Re-exporting a direct credit batch
If the export file is lost or in the wrong format, you can re-export the Direct Credit batch. From the Direct Credit record, select ...More Options > Re-export.
Take care to ensure that the file is not uploaded twice to the bank. If so, payments could be taken from the bank account twice.
The same export window will appear with a notification reminding you that 'This Direct Credit has already been exported'. You can then run through the steps the same as above.
If you need to reverse a supplier or cashbook direct credit payment
See our article on how to Reverse a supplier or cashbook direct credit payment if needed.

