The underlying process for recurring receipts is the same as for a cashbook receipt, with slight differences at the creation and posting stages.
There are two ways to create a Recurring Cashbook Receipt:
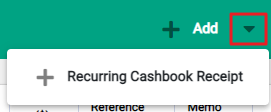
From the Cashbook Receipts screen - click on the solid arrow beside +Add. Choose +Recurring Cashbook Receipt.
From the Omni Icon - choose +Recurring Cashbook Receipt from the Financials list.
From either option the standard new cashbook receipt screen displays along with fields to enter details about the recurrence.
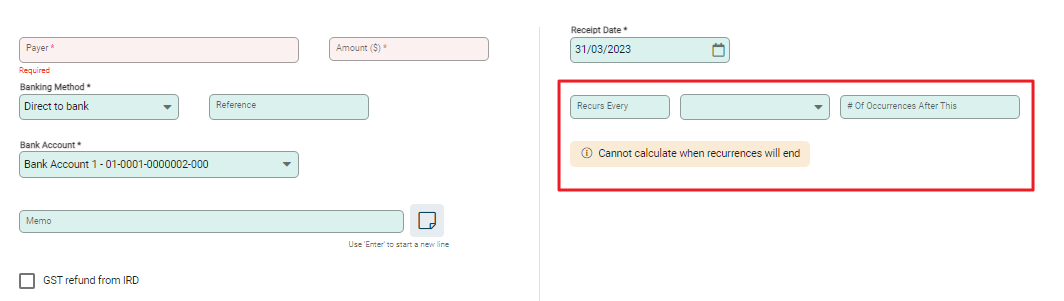
Enter the Payer, Amount and banking details as usual. Also required is information to set the frequency and duration. Update as follows:
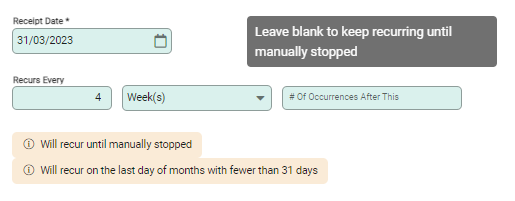
- Recurs Every sets the frequency of recurrence, i.e. once a week (one), every four weeks (four).
- Select the type of recurrence from the drop down – Day(s), Week(s), Month(s) or Year(s).
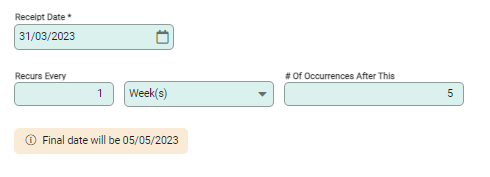
- # of Occurrences After This is used to set the number of additional recurrences to the original payment. Leave blank for an open-ended payment or enter a number for a fixed period.
Add line details to the cashbook receipt as usual and Save to hold the receipt or Post to complete.
Post Recurring Cashbook Receipts
Posting a recurring Cashbook Receipt has an additional step in the confirmation window.
The standard confirmation displays the amount and date of the receipt along with the Next Recurrence date. The Next Recurrence field is editable and any changes made to it apply to all future remaining receipts, automatically adjusted in accordance with the original frequency settings.
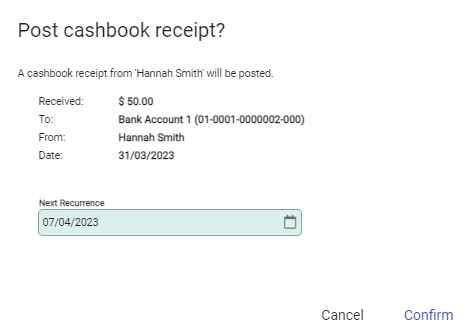
Confirm to post the receipt and return to the Cashbook Receipts screen.

All recurring Cashbook receipts display with a status of Unreconciled or Reconciled for the Posted transaction and Unposted for the ongoing transaction.

Edit Recurring Cashbook Receipt date or frequency
To change the date that a receipt recurs, or how often it recurs, select the Edit pencil at the end of the row to open the recurring receipt.
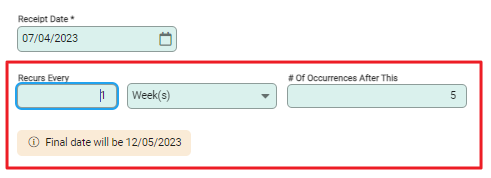
Update the recurring information fields as required and save. When # of Occurrences After This is populated, the Final date will update. Save to record the change.
GL lines can be updated at this time if required, or go Back to return to Cashbooks Receipts.
Stop recurring Cashbook Receipts
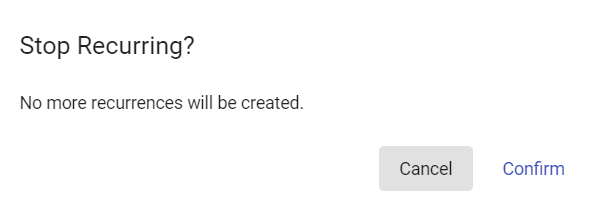
There are two ways to stop recurring cashbook receipts. A receipt must be Unposted for the recurrence to be stopped. Use either the Spill Menu at the end of the row or ...More Options from within a receipt to open the drop-down and choose Stop Recurring.

The pop-up window confirms to stop the recurrences. Confirm to proceed.
Convert existing Cashbook Receipts to recurring
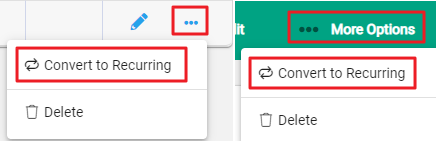
A cashbook receipt must be Unposted in order to convert it to Recurring. To convert a receipt use either the Spill menu at the end of the row or ...More Options within a receipt to choose Convert to Recurring.
A confirmation window displays advising that the cashbook entry needs to be updated. Confirm to open the cashbook receipt.
The receipt converts to Recurring and the recurrence details need to be set. Select Edit to open the receipt and update the recurring details. Save to complete.

