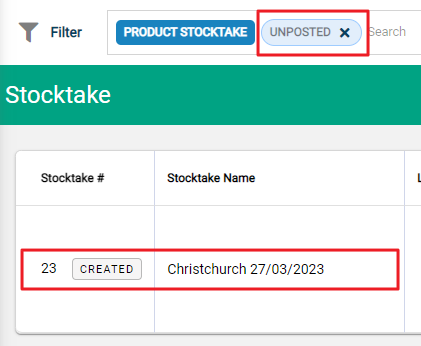
Go to Products > Stocktakes and locate the stocktake you are ready to start. You can use the search bar or the Filter to narrow your search. Open the stocktake by selecting anywhere on the line.
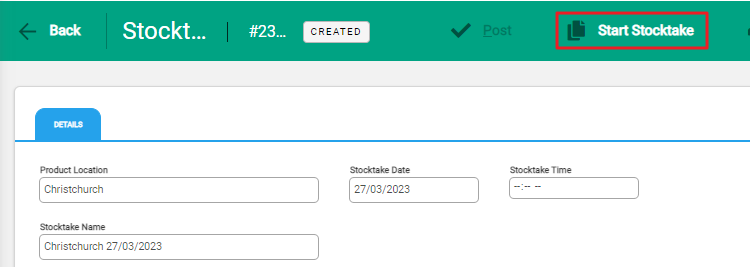
Select Start Stocktake to start the stocktake.
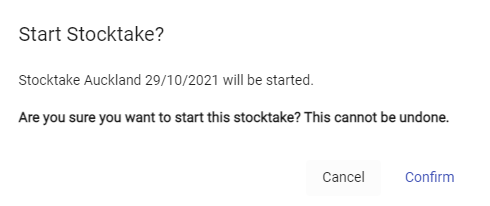
A window will appear asking you to confirm that you want to start the stocktake. Select Confirm. This action will lock the stocktake and prevent it from being edited.
You will see a notification on the lower part of the screen.

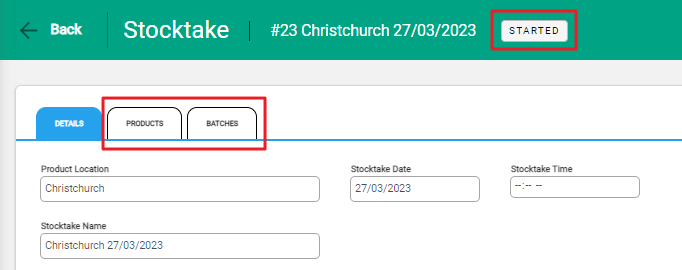
The stocktake will now have the status of 'Started' and the Products and Batches tabs will appear. The stocktake parameters cannot be edited from this point. If you need to make changes, create a new stocktake.
The In Stock and Allocated figures used in the stocktake will be those calculated when Start Stocktake is selected and based on the date and time of the stocktake. These figures will not change if any subsequent transactions dated prior to the stocktake are created.
Capturing the physical count
You and other staff can capture the data from a physical count in two ways. You can either:
- print the stocktake sheets and count using a pen and paper, and then enter the figures manually.
- export the stocktake sheets as a .csv file, complete the count on the spreadsheet, and then upload the spreadsheet data.
Print the stocktake sheets
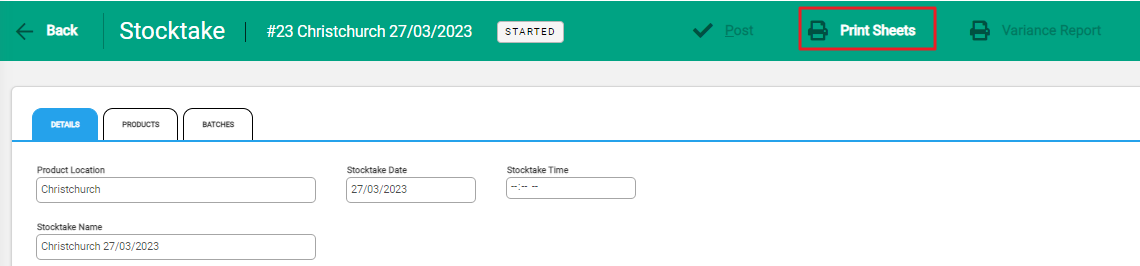
Select Print Sheets in the taskbar.
A window will display giving you two options for including or excluding products on the stocktake sheets, the option to include product barcodes, and the option to add blank serial number pages.
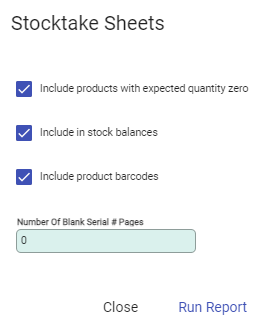
Options to include and exclude products
You can choose to include or exclude products from the stocktake sheets with an expected quantity of zero. You can also choose to include or exclude stock balance figures on the sheets.
If you select 'Include in stock balances', the stocktake sheets will show the number of in stock, allocated, and expected products.

If this option is not selected, the stocktake sheet will only display a space for counting the products.

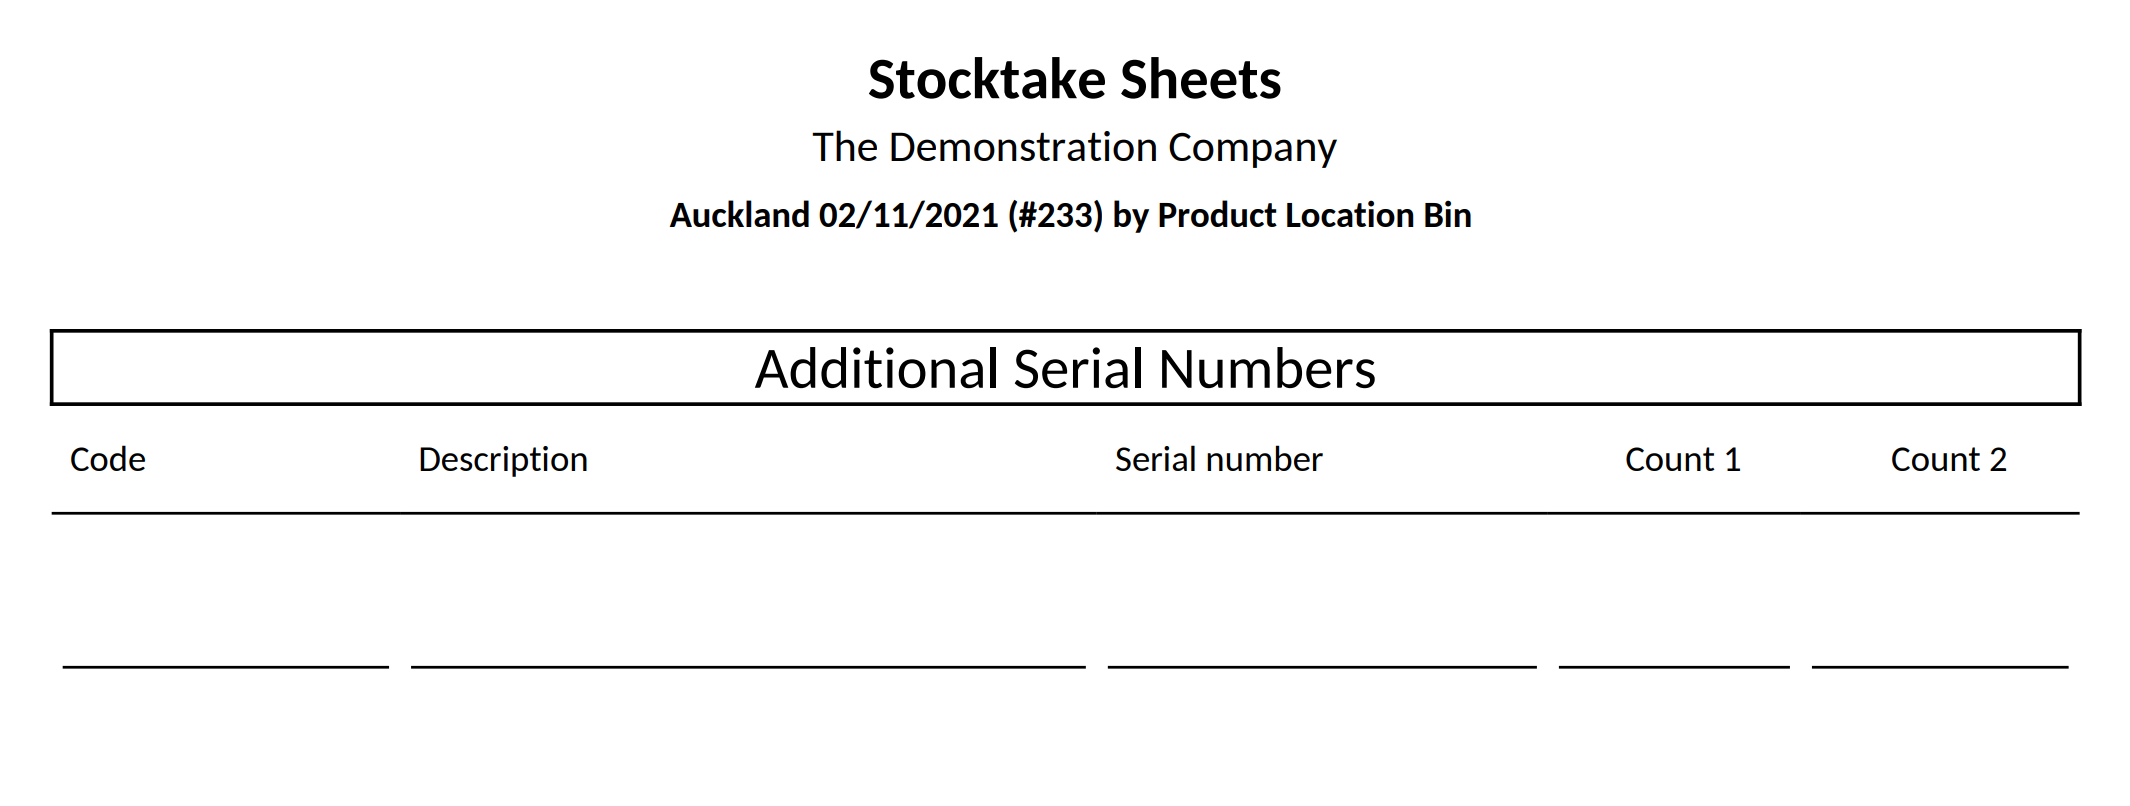
Serial number pages
You can add one or more blank serial number pages to the stocktake sheets. These pages are for writing down additional serial numbers that you may not already have on the list as you complete the physical count. Products that track serial numbers need to have the quantities recorded against the specific serial numbers when the count is entered on the Products tab.
Select Run Report to export a PDF file of your stocktake. You can choose to print, open, or download the sheets.
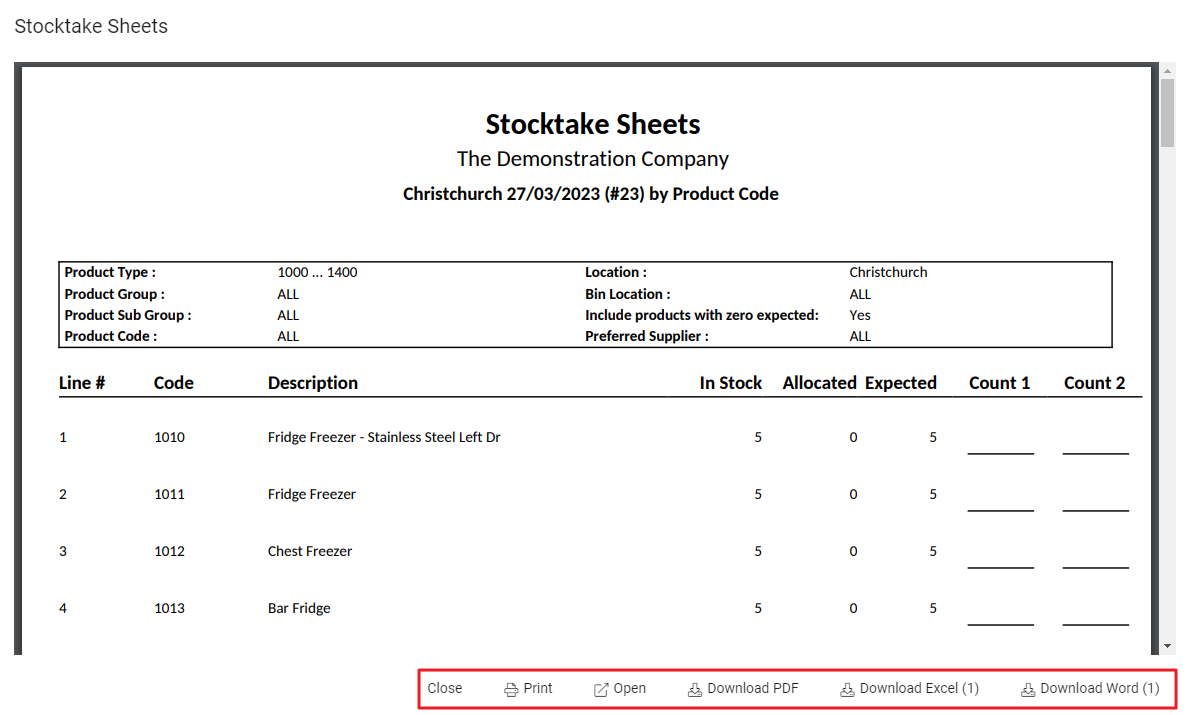
Print one or multiple copies of the stocktake sheets, depending on the number of people completing the stocktake. The physical count can now be completed. The next step in the process will be to enter batch counts into Infusion.


