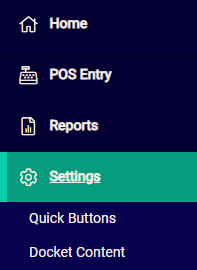
To configure Point of Sale settings, from within the POS module go to POS > Settings.
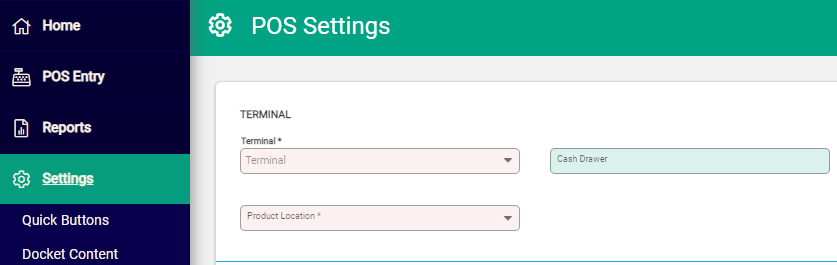
When POS is accessed at a workstation for the first time, the Terminal, Cash Drawer and Product Location must be set. No further functions are available until they are configured. These settings belong to the workstation, and apply to all Users who login to it.
Assign a Terminal in Infusion POS
Select the Edit option on the Taskbar to activate fields
- Terminal – the Terminals created in Infusion are available in the drop-down list. Select as required. A terminal can only be assigned once and is unavailable to select if it is in use elsewhere.
- Cash Drawer – this updates automatically when the terminal is selected and is as per the configuration in Infusion Online. The G/L Accounts allocated to the Cash Drawer display beside the Terminal details.

- Product Location - choose from the drop-down list. This will be the Location used for all sales. Location options are generated from the Product Location settings within Infusion Online.
-
Email Invoice Where Possible - This option allows the user to control when invoices are emailed to customers. Choose from the following options
- Do not email - The system will not attempt to email invoices under any circumstance (this will be the default option)
- Prompt to email - If a valid email address exists, users will be prompted to confirm whether they want to send the invoice via email after the sale is processed.
- Always email - The system will attempt to email invoices whenever a valid email address is available once the sale is processed.
New Sales
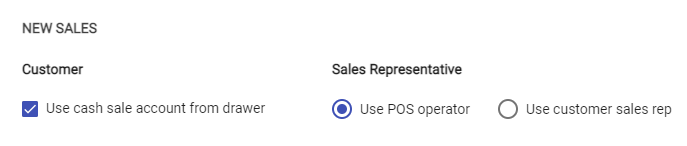
- Customer - when selected, the cash sale account assigned to the cash drawer is the default customer for all new sales. If left blank, a customer must be selected for each new transaction.
-
Sales Representative -
- Use POS operator – the Sales Representative recorded against the sale defaults to Staff Rep linked to the logged in User. If the User is not associated to a Staff Rep, the Sales Rep field is blank.
- Use customer sales rep – the Sales Representative applied to a customer account defaults to the Sales Rep field. Customers without a sales representative default to the POS operator.
Actions and Displays Allowed

Use the sliders to determine editable fields and active quick buttons on the POS Entry screen.
- Allow rate changes - the user can edit the rate of the item.
-
Allow discount changes - allows the user to apply discounts to the item.
However, discounting remains disabled if the Pricing tab for a specific product has discounts turned off, even when Allow discount changes is enabled. - Allow price level selection - activates the Price Select Quick Button; the user can choose which price level to apply to an item.
- Allow display of profit summary - activates the Profit Quick Button; the user can view the profit (Margin and Markup) of a sale.
- Show pricing in product summary - the user can view the pricing information of a product when using the Product Summary Quick Button.
If a setting is made inactive, consider moving the relevant Quick Button from the display section to the Unused Buttons field in the Quick Button Settings. This means the button will not display on the POS Entry screen.
Misc Product
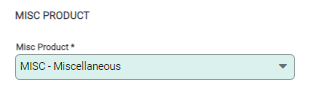
Select the Product code for miscellaneous transactions to be recorded against.
When all settings are applied select Save to complete. The header updates to display the selected Cash Drawer name, associated Terminal and Product Location.


