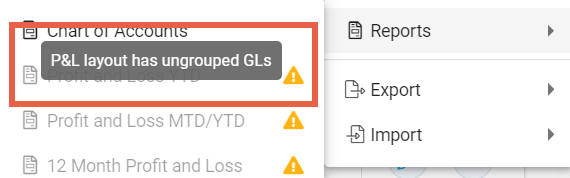
In the Financials menu, click Layout on the toolbar and select either Profit and Loss or Balance Sheet from the Layout drop-down on the toolbar to open the new layout window.

Select +Add from the toolbar. A new box displays beside the ledger codes for creation of a new GL Group.

- Set the Title for the group. The Subtotal label defaults to the Title and can be overridden if required or removed if only a heading for the group is needed.
- Choose the Function Group. Profit and Loss offer Income or Expense while Balance Sheet offers a selection of Asset, Liability and Equity options.
- The Page-break before group option allows separation of groups to new pages on reports.
Moving and Grouping
The layout screens list GL Accounts and Groups.
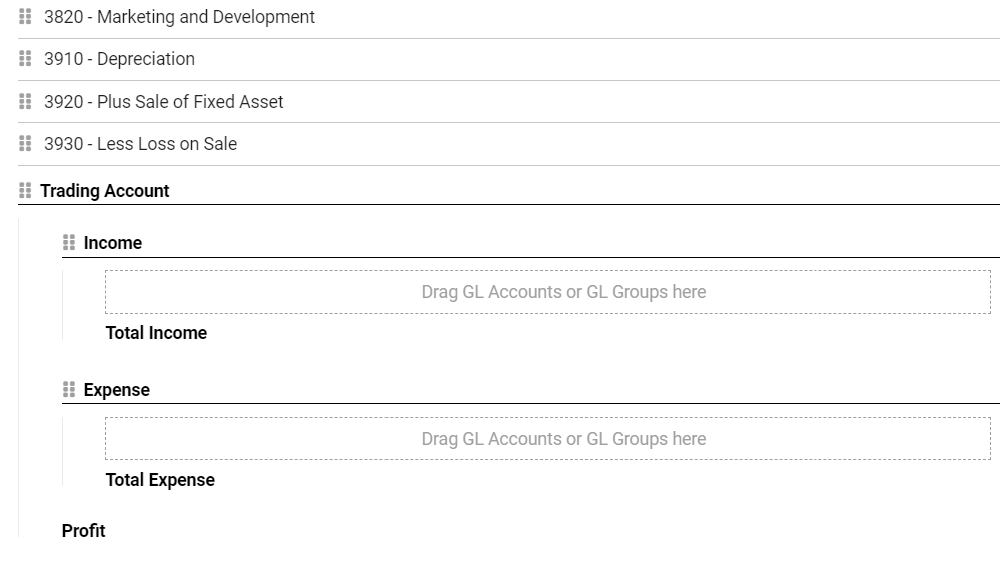
Newly added Accounts and Groups are added to the bottom of the list ready to move into a Group. Use the Move icon to drag and drop accounts and groups into position.
Groups can be embedded within groups, for example have a series of Expenses groups nestled within a General Expenses group to create an overall General Expenses sub-total.