GL Accounts can be created two ways:
| Via the Main menu | Financials > +Add |
| Using the Omni icon | Financials > +GL Account |
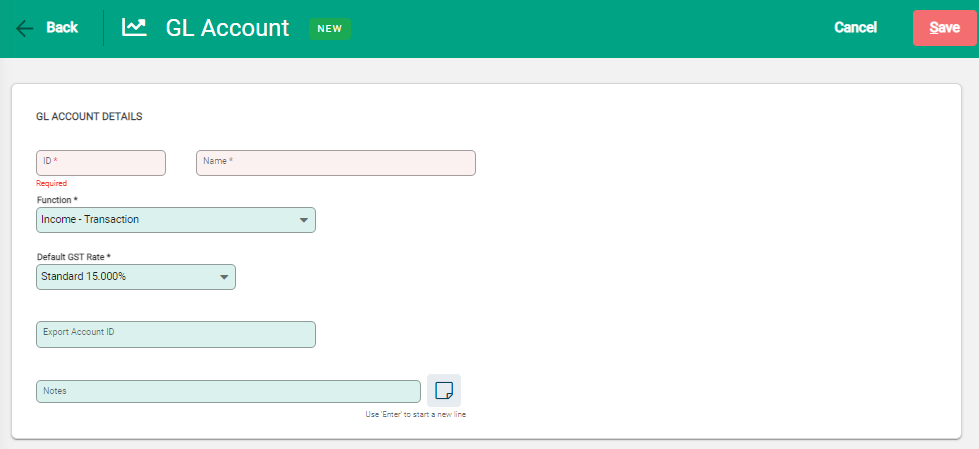
Both options open the new GL Account window.

Update the fields with the GL Account details:
ID & Name
Enter the ID code and the Name of the GL Account. The ID can contain numbers and / or letters.
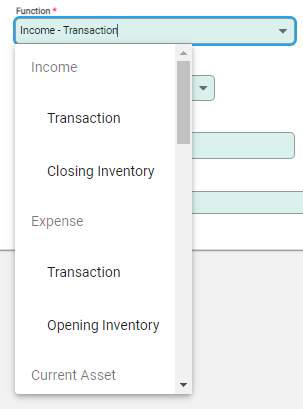
Function
Nominate the category the account belongs to.

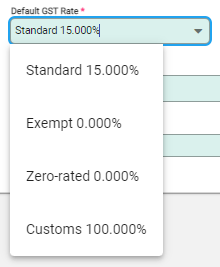
Default GST Rate
Set the Default GST rate for the account. Select the Default to GST Inclusive (cashbook lines) option if GST is to be included when using the account in a Cashbook Receipt or Payment.

Save to complete.
New codes are inserted into the General Ledger view based on the existing sort layout, i.e. if the Ledger displays sorting by the Name column, the new account is inserted in order of the Name column.

- The ID and Name columns are available for sorting. Click on the column titles to change the sort view.
- Clicking anywhere in the row opens the account in a Read Only mode. Further options are available from within this screen. Using the edit pencil at the end of the row opens the account in Edit mode.
- The Spill menu at the end of the row opens further commands and provides quick access to common actions.

