To associate documents and images with a product, go to the Products module and select the product. Go to the Documents / Images tab. Here you will see any existing records saved against the product.
Files can be displayed as a list or in a grid. Use the List / Grid button to toggle between views.

Click on the document name or image to view the document in a new browser tab, or select Download to open the document. If the file type can not be previewed online it is saved to the local downloads folder.
Add a document or image
To add an item, within the Documents / Images tab, select +Add.
Select the file from your computer to upload it. Multiple documents can be uploaded at a time by selecting as applicable.
Edit a document or image
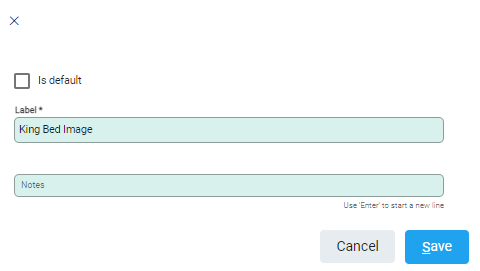
Click on the Edit pencil for the item to open the edit window. 
Make changes as required. Notes can be added to the file - these are visible from edit window.
Is default is available to record an image as the default option if required for other documents, for example invoices or quotes. Only one image can be selected as the default.
Delete a document or image
Before removing a file, make sure that there is a copy saved elsewhere if it is still required. Removing a file permanently deletes it from Infusion.
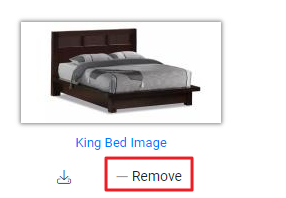
Use the Remove button on the document properties to delete a document or image.

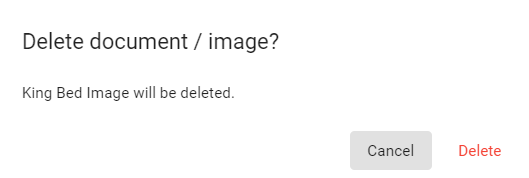
A notification confirms the deletion. Select Delete to remove.

